 Cart
Label Meal Prep So Someone Else Can Handle Dinner
Clear labels turn a fridge full of containers into a dinner plan anyone in the house can follow safely.
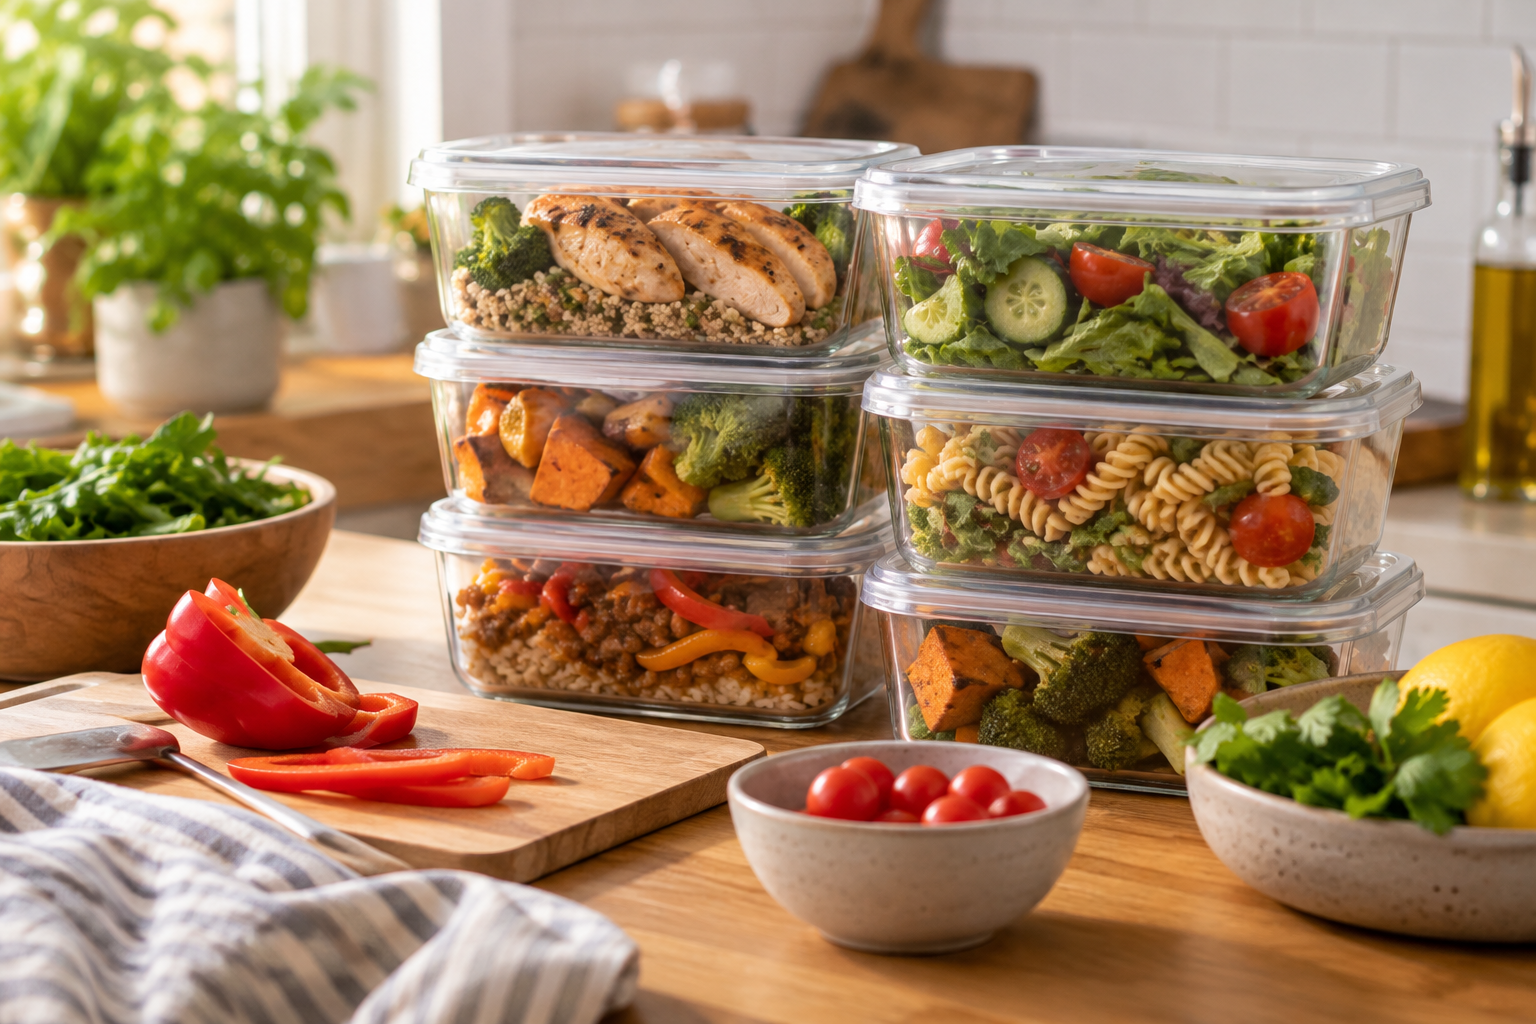
A container marked “chicken” is not a dinner plan when three people are hungry and nobody knows whether it belongs in the microwave, oven or freezer.
Good meal prep labels remove that guesswork. They tell the right person what the food is, when it was made, how much is inside and what needs to happen before serving. That matters even more when one parent cooks, another parent handles dinner, and the children are old enough to help.
The goal is not to write a novel on every container. It is to make the next step obvious while keeping food-safety decisions tied to the recipe and current official guidance.
What every meal prep label should say
Start with the information that prevents mix-ups:
- Meal name: Write “turkey meatballs with rice,” not just “meatballs.” Include the sauce, side dishes or toppings if they are packed separately.
- Recipient: Add a name, role or simple identifier such as “Mum,” “Alex,” “family” or “vegetarian.” This is useful when portions differ.
- Prepared date: Record the day the meal was cooked or packed. If it was frozen, write the freezing date as well.
- Use-by plan: If your household follows a particular storage schedule, write “fridge” or “freeze” and the planned day to serve it. Do not treat this as a substitute for current food-safety guidance.
- Reheating status: Say “eat cold,” “reheat,” “thaw then reheat” or “reheat components separately.”
- Instructions: Include the method, temperature if the recipe specifies one, approximate steps and what to check before serving.
A label can be short. For example:
Turkey chilli — Sam — cooked Monday — reheat — thaw first if frozen — stir halfway — serve with rice
If the food is for a child, add any useful detail about texture, toppings or portion size. If the dish contains a commonly avoided ingredient, list it clearly. A label is especially valuable when more than one person may serve the meal.
Make reheating instructions specific to the dish
There is no single correct reheating method for every prepared meal. Pasta can dry out. Rice and grains may need moisture. A casserole may heat unevenly. A thick soup can be hot around the edges while the centre is still cool. Pastry can lose its texture in a microwave.
Write instructions based on the recipe and the container. Useful wording might include:
- “Microwave covered, stir halfway, then check the centre.”
- “Reheat sauce separately from pasta.”
- “Oven only. Transfer to an oven-safe dish first.”
- “Thaw in the refrigerator before reheating.”
- “Add a splash of water before heating.”
- “Keep topping separate until serving.”
- “Do not reheat the salad or fresh herbs.”
Avoid writing a firm time or temperature from memory if you have not checked the recipe. Microwave wattages, portion sizes, container materials and starting temperatures vary. The same meal can need different treatment when frozen rather than refrigerated.
For recipe-specific advice, use the recipe’s own instructions and check current official food-safety guidance for storage, thawing and reheating. If a package includes cooking or heating directions, follow those directions. When in doubt, do not rely on a label that says only “heat until warm.” The person serving the meal needs enough information to heat it thoroughly without damaging the food or the container.
Label the container, not just the lid
Lids get swapped. Containers go through the dishwasher. A label on the lid can become useless when the lid is used with another container.
Put the main label on the container itself when possible. Use a freezer-safe label or marker for frozen meals. Make sure the writing will survive condensation and handling. Painter’s tape can work for short-term fridge storage, but test whether it stays attached to your particular containers.
For containers going from freezer to oven or microwave, check that the container is designed for that use. The reheating instruction should tell the next person if the food needs to be transferred first. “Oven only” is not enough if nobody knows which dish is safe.
For stackable containers, add a label to the front as well as the top. This saves someone from pulling out every container to identify dinner.
Use a simple label order
People scan labels quickly. Put information in the order they need it:
- Who and what: “Jordan — lentil curry.”
- When: “Cooked Tuesday.”
- What state: “Fridge,” “frozen” or “thawing.”
- What next: “Reheat” or “eat cold.”
- How: Add the short, recipe-specific method.
- What to add: Rice, grated cheese, fresh herbs, sauce or another separate component.
This order works on masking tape, reusable labels, freezer cards or a note beside the meal. Keep the wording consistent across your kitchen. If “F” means frozen one week and “F” means family portion the next, the system creates more confusion instead of less.
Label separate components clearly
A meal often has several parts. The main dish may be in one container, rice in another and toppings in a small jar. Label each part or group them in a clearly marked tray.
Try wording such as:
- “Beef stew — Dad — reheat.”
- “Mashed potatoes — same meal — reheat separately.”
- “Parsley — add after heating.”
- “Yogurt sauce — keep cold.”
This prevents cold ingredients from being microwaved by mistake. It also helps someone serve a meal when the cook is not available to explain the plan.
If you batch-cook several similar meals, identify the differences. “Chicken pasta A” is not useful. Write “no cheese,” “extra vegetables,” “mild,” or another detail that changes who should receive it.
Build a handoff label for family members
A handoff label should answer the questions a non-cook is likely to ask:
- Is this mine?
- Is it ready to eat?
- Does it need thawing?
- Which part gets heated?
- What container or dish should I use?
- What gets added at the end?
- How do I know it is ready to serve?
For older children and teens, keep the instruction short and use familiar words. For example: “Microwave the curry and rice separately. Stir the curry. Add naan after heating.” For a younger child, the adult still needs to manage hot food and any safety checks, but the label can make the serving routine clearer.
Do not assume a child can judge whether the middle of a meal is hot enough. Follow age-appropriate supervision and current food-safety advice.
Add a kitchen routine around the labels
Labels work best when they are part of the weekly routine. Keep a marker and tape beside the containers. Label food before it goes into the fridge or freezer, while the details are fresh. Put meals in a clear section by day or recipient.
When someone takes a meal, they should remove the label or mark it as used. This prevents a forgotten container from being mistaken for the newest batch. During a weekly fridge check, compare labels with your meal plan and discard anything that no longer fits your household’s food-safety guidance.
If your family shops and cooks around changing flyers, local store options and a fixed budget, a weekly plan can also make the labelling step easier. CartBrain can help organise the week’s meals and grocery list; add the final label details after each dish is actually prepared.
The best meal prep label is not the prettiest one. It is the one that lets the next person identify dinner, handle it correctly and serve it without waking the cook for instructions.