 Cart
A Meal-Prep Session for One Oven and a Small Counter
Use one oven, one small prep surface and a clear order of operations to cook more meals with less mess.
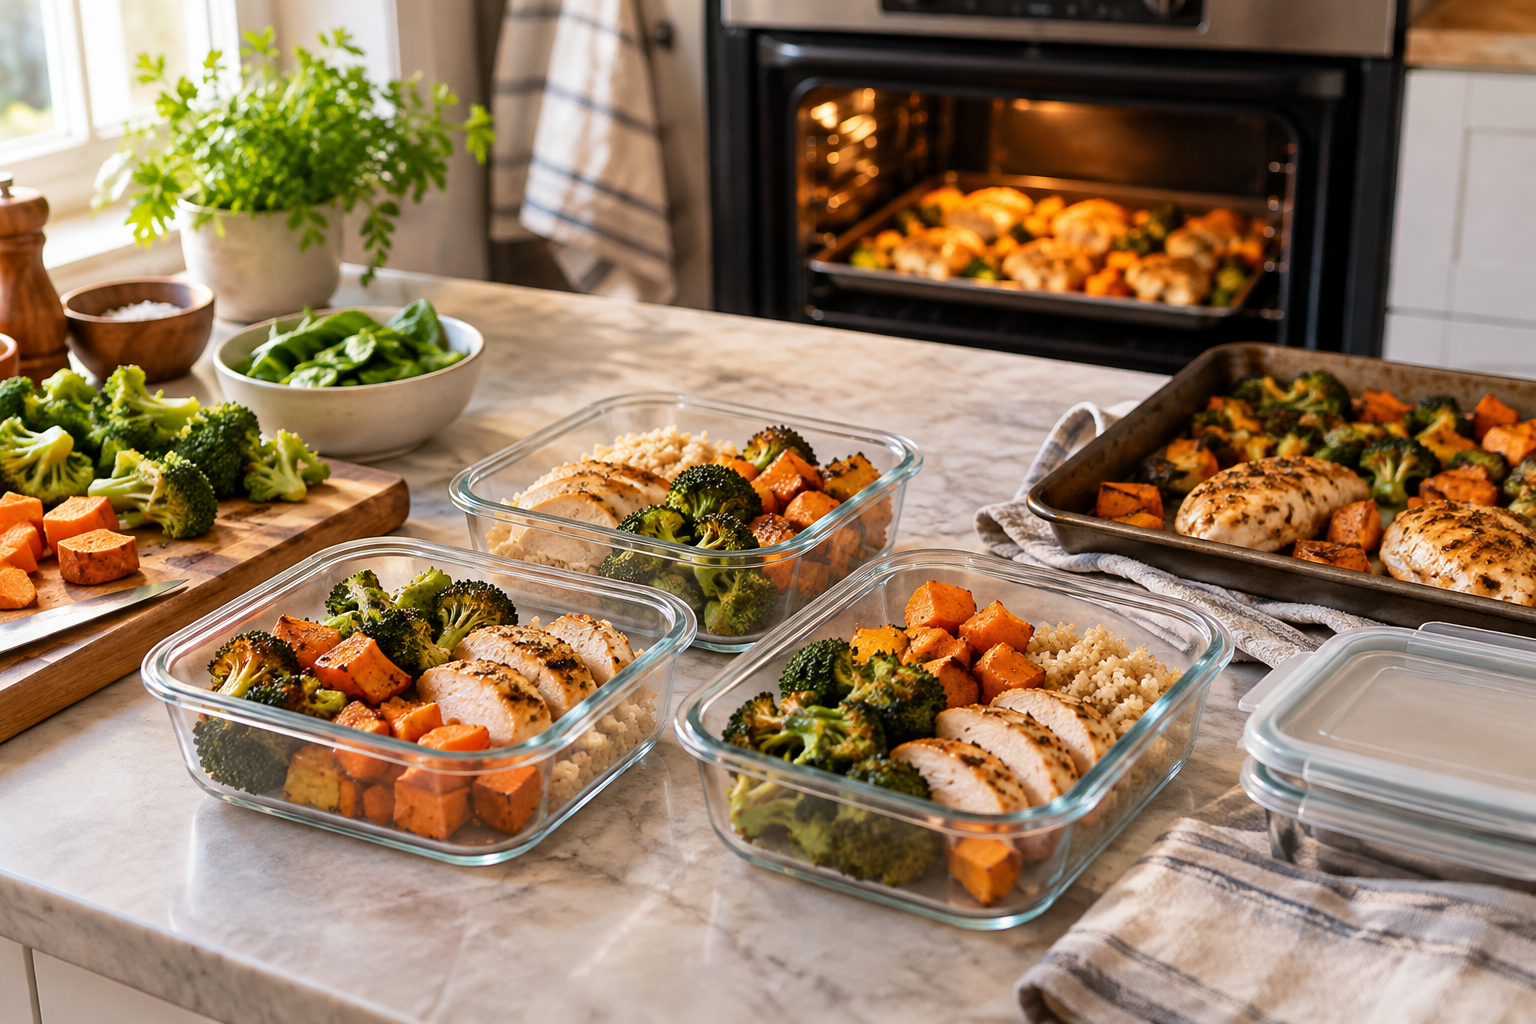
A single oven rack, one cutting board and a counter barely wide enough for a bowl can still support a useful meal-prep session. The trick is not cooking everything at once. It is giving each tool a job, grouping the messy work and leaving enough room for food to cool safely.
A small kitchen meal prep schedule should reduce movement. You want fewer trips between the fridge, sink, counter and oven. You also want a plan that respects different cooking temperatures, pan sizes and storage needs.
Start with capacity, not recipes
Before choosing meals, list what your kitchen can actually handle.
- How many oven racks can you use safely?
- Which baking sheets, roasting pans or casserole dishes fit together?
- Do you have one large cutting board or several small ones?
- Can your biggest pot and a frying pan sit on the stovetop at the same time?
- Where will cooked food cool before it goes into the fridge?
- How many containers do you have for complete meals and separate ingredients?
This prevents the classic small-kitchen mistake: planning four sheet-pan meals, then discovering you have one suitable tray.
Choose meals that use different equipment. For example, pair a roasted vegetable tray with a stovetop grain, a pot of soup and a no-cook sauce. That spreads the work across the oven, burners and counter instead of creating a queue for one piece of equipment.
Plan around your household and storage space, too. A family in a small apartment may get more value from two flexible bases and several toppings than from five separate recipes. Cooked rice, roasted vegetables, shredded chicken and a simple dressing can become bowls, wraps or side dishes without filling every container in the fridge.
Write the order before you turn anything on
A good schedule has four tracks: equipment, ingredients, cleanup and storage. Write the sequence on paper or in your phone. Keep it visible.
1. Clear the landing zones
Empty the sink. Put away the clean dishes. Move the kettle, toaster or small appliances that are not part of the session.
Set out:
- A cutting board and chef's knife
- A mixing bowl and one smaller bowl
- Measuring tools
- Tongs or a spatula
- Parchment or foil if you use it
- Labels and containers
- A cloth for quick spills
Do not cover every available surface with ingredients. Keep one clear area for cooked food and another for chopping. In a tight kitchen, a cleared stovetop can become a temporary landing zone once it is cool, but never place hot cookware where it can damage the surface or be knocked over.
2. Pull out every ingredient
Read each recipe once. Take out the ingredients that need chopping, measuring or thawing. Keep refrigerated foods cold until you need them.
Group ingredients by task rather than by recipe. Put all onions together, all carrots together and all herbs together. This cuts down on repeated washing and chopping.
Set aside raw meat, seafood and anything ready to eat. Use separate utensils and a clean board for foods that will not be cooked. If you have only one board, prepare produce first, then wash it thoroughly with hot, soapy water before handling raw animal products.
3. Chop in a low-mess order
Start with ingredients that are clean and dry. Chop vegetables, herbs and fruit before moving to raw meat or sticky items. Store each group in a bowl or container as soon as it is ready.
Use one bowl for scraps. When it is full, empty it. Do not let peelings and packaging spread across the counter.
If several dishes use diced onion, chop the full amount once. Do the same with carrots, peppers or cabbage. Keep portions separate if one recipe needs a different cut or if the ingredient will be used raw.
4. Start the longest stovetop item
Put on the food that needs the most unattended cooking, such as soup, beans or a grain. Set a timer. Use that cooking window to prepare the oven tray or wash the tools you have finished with.
Do not assume a pot can be ignored. Check the recipe, stir when needed and lower the heat if the food is cooking too aggressively.
5. Load the oven by temperature and timing
The oven should be treated as a schedule, not a storage locker. Check each recipe's temperature and cooking time. If two dishes need different temperatures, cook them separately or adjust only when the recipe supports it.
A dish that needs a higher temperature may go first. A slower, lower-temperature item may follow. Some foods can rest briefly while another tray finishes, but delicate foods, cooked proteins and anything that needs prompt refrigeration should not sit out for an open-ended period.
Use the oven's centre rack when possible. Leave space around trays so hot air can move. Do not stack pans unless the recipe specifically allows it. Halfway through cooking, rotate a tray only if the recipe calls for it or your oven heats unevenly.
Use a thermometer for meat, poultry or other foods where doneness is not easy to judge by appearance. Follow the recipe and current food-safety guidance rather than guessing from colour alone.
Make cleanup part of the cooking
Small kitchens become unusable when cleanup is postponed until the end. Build short resets into the schedule.
- Wash the knife and board after raw meat or seafood.
- Rinse measuring tools once an ingredient is added.
- Put scraps in compost or garbage before they overflow.
- Wash the mixing bowl while the oven is heating.
- Return spices and unopened ingredients to the cupboard.
- Wipe spills before they dry.
Keep one sink basin for dirty tools and the other, if available, for washing produce. If there is only one basin, wash in batches and keep ready-to-eat foods away from dirty utensils.
The goal is not a spotless kitchen during every step. The goal is to keep enough clean space available for the next task.
Cool and store in stages
Storage is part of meal prep. It is not an afterthought.
Transfer cooked food into clean, shallow containers when practical. Smaller portions cool more evenly than one deep, tightly packed container. Leave room for steam to escape briefly, then refrigerate according to current food-safety guidance. Do not leave cooked food on the counter while you finish several unrelated tasks.
Label containers with the food and the date you prepared it. Keep sauces, crunchy toppings and fresh herbs separate when they will affect texture. Store ingredients that need reheating apart from ingredients meant to stay cold.
If you prepare more than your household can use soon, freeze suitable portions once they have cooled. Check that the container is freezer-safe and leave space for expansion. Thaw food safely rather than relying on a long counter rest.
A sample sequence for one session
Use this as a flexible template, not a rigid recipe.
- Clear the sink, counter and stovetop. Set out tools and containers.
- Read all recipes and check oven temperatures, cooking times and storage needs.
- Wash produce and chop shared vegetables, keeping raw ingredients separate.
- Start the longest stovetop item.
- Assemble the first oven dish while the pot cooks.
- Load the first tray at its required temperature.
- Wash the board, knife and bowls that are no longer needed.
- Assemble the next dish and adjust the oven only when its recipe allows it.
- Cook a second stovetop item while the oven is occupied.
- Portion finished food into shallow containers and begin cooling it safely.
- Make sauces, garnishes or fresh components after the hot cooking is under control.
- Label, refrigerate or freeze the food, then finish the final wash-up.
This order works because it uses waiting periods for preparation and cleanup. It also avoids asking the oven to do everything at once.
Choose meals that share ingredients, not just equipment
Shared ingredients reduce chopping, but too much repetition can make the week dull. Aim for components that can change direction.
Roasted carrots might become a side dish, a grain-bowl topping or a blended soup base. Cooked chicken can go into wraps, pasta or a salad. A pot of lentils can support a curry one day and a tomato-based dish another day.
Keep strong flavours flexible when possible. Add chilli, citrus, herbs or a finishing sauce at serving time instead of locking every portion into one flavour profile.
Also check the vegetables you have before buying more. In Canada, availability and pricing vary by province, season and store. Flyers at banners such as No Frills, FreshCo, Food Basics, Maxi, Super C, IGA, Save-On-Foods, Co-op or local independents can differ from one community to the next. Use the ingredients already in your kitchen first, then build the plan around what fits your budget and storage space.
A clear small kitchen meal prep schedule does not promise a perfect batch-cooking marathon. It gives one oven, a small counter and a limited set of dishes a sensible order. If you want help turning your household, budget and local flyer options into a week of suppers, CartBrain can build the plan in its web app and iPhone or Android apps, with a full first week free and no card.